
Painting with watercolors can be a lot of fun – or it can be super frustrating!
If you have ever struggled with using watercolors, today’s post is all about sharing how to paint with watercolors – and all the tips & tricks I wish I would have known when I first started!
Painting With Watercolors Does Not Have to Be Complicated!
It’s a little embarrassing to admit this, but I used to really struggle trying to paint with watercolors. I painted with watercolors my entire life, yet I still felt like everything I created looked like a little kid made it.
My colors looked muddy. I couldn’t control the paint brush as well as I wanted. My pictures looked flat and nothing had any depth or dimension. Any and all attempts at shadowing were disastrous.
What was I doing wrong? Well, as it turns out, I was doing a lot of things all wrong!
There are TONS of little tricks that make it a LOT easier to understand how to paint well with watercolors – and a lot of people tend to forget to mention these details in most tutorials, because they are so simple and obvious, unless you’re me of course!
If you’re like me at all, the obvious is not always exactly obvious. {I could probably be a caller on the The Mr. Obvious Show for so many things in my life sadly!} There are some things I just don’t think to do!
I tend to make things a lot more complicated than they actually need to be – and that would only add to the frustration! Thankfully there are a lot of things you can do that make it so much easier – and way more fun.
Hopefully today after you read this you can avoid a lot of the same mistakes I used to make – and watercolor will be more enjoyable for you in the process!
Step 1: Gathering Supplies to Paint With Watercolor

To get started, you’ll need to gather some basic supplies. Fortunately, most of these things are very easy to find – you can get them at most art stores or of course you can order them & other handpicked creative goodies on our Amazon shop page!
Fortunately, you don’t really need a lot to get started – and most things you may already have or be able to get very easily and inexpensively!
The first thing we need, of course – are watercolor paints and some paper!
Types of Watercolor Paints & Papers
Paints are usually available in either tubes or pans. I’m a big fan of this Sakura Koi field set – it’s perfect for travel and has a nice selection of colors. You can also use watercolors in tubes with a palette, such as this watercolor paint set by Ohuhu.
The next thing that is important is the type of paper you use. Painting with watercolors requires a lot of water, and so regular standard copy or drawing paper is not going to hold up too well with a lot of water!
I recommend using paper specifically meant for watercolors, because it is a lot more absorbent. This paper is usually a weight of 140lb/300g or higher. Watercolor paper comes in two varieties – cold pressed, which has a nice texture to it, and hot pressed, which is a little bit smoother.
I use Canson Watercolor Paper often – and I’ve found Amazon often has a paper pad of 30 sheets with a great price! Strathmore is another good brand, and of course if you’d like to work in a journal or notebook, I always love a good Moleskine watercolor journal!
If you are going to buy watercolor supplies, I definitely recommend shopping on Amazon – this is easily the best way to get the good prices and a way bigger selection than what you might find at a typical retail craft store. Shop my handpicked favorites on Amazon here.


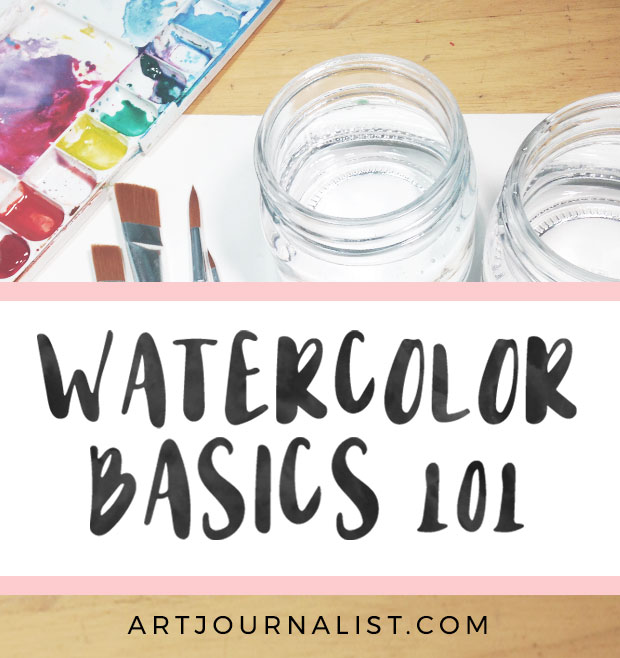
The Most Important Thing You Need: 2 Separate Jars of Water
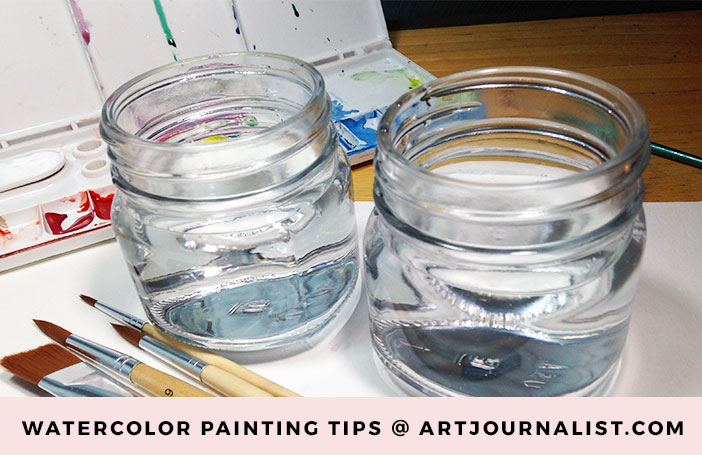
I’m not sure why it took me 20+ something years to learn this. It wasn’t until I was at a creative playdate with some of my art friends that I learned to do this and I noticed one of my friends, who is a professional watercolor artist was using two jars instead of just one!
So, yes, if you want to instantly be more “pro” in your watercoloring – use TWO jars of water!
This way, you have one jar specifically for rinsing your brushes – and then a jar specifically for clean water that can be used for painting and mixing up colors.
So genius, and so simple!
This way, you’re not constantly changing your water – AND your colors will be a lot more crisp and clear – a must if you’re working with lighter shades of yellow, orange, and green!
Seriously, I never, ever in a million years would have thought to do that, and it’s so simple! Two separate jars of water!
Other Watercolor Painting Supplies You Will Need:
Good Quality Watercolor Brushes: There are a lot of different types of watercolor brushes. The nice thing to have is a set that offers a big flat brush for washes and larger areas and then to have a nice assortment of round brushes in different sizes.
Round brushes really do work well for most watercolor applications, because of the way they hold the water and push the paint around. If you plan to paint a lot of details, you’ll want very thin brushes that are good for smaller lines and even for handwriting and watercolor lettering.
Towels: It’s also a good idea to have towels nearby and on hand. These can be used to blot off excess water and paint. They’re also good to have in case of spills or if you accidentally use way more water than you wanted to.
You can use any type of old towel or cloth you don’t mind getting paint on, or you of course can always use paper towels or even tissues.
Washi Tape or Painter’s Masking Tape: Here’s another great trick I learned after watching the same genius friend who uses two jars of water paint for an afternoon: tape your paper to the table!
Washi tape and painter’s tape/masking tape usually work pretty well because it won’t damage the surface. Having the paper taped down will help prevent wrinkles. If you’ve ever used watercolors with a wrinkling mess afterwards, this will help you a TON.
Thankfully I have a wonderful washi tape obsession {See my favorites here!} – and so there’s always plenty of tape at my house to use for this purpose.
Now that we have the supplies all gathered, let’s get started with the next step!
Step 2: Learn the Basics of Watercolor Painting Techniques
There are a couple of different techniques that make painting with watercolor a lot easier. Learning the basics of just how the paints work on paper and how to use the brushes can make all the difference.
How Watercolors Work
Watercolors generally are translucent – which means you can see through them. The more water you use, the more translucent they will be. If you do not use hardly any water, your paints will be more opaque.
Most high quality watercolors will have a richer pigment to them, so you can really use a lot of water in mixing them. It’s also helpful to know that watercolors typically dry a lot lighter than they first appear while wet.
Tips for Mixing the Paints with Water
The easiest way to mix paints is by using either a palette, plate or even in the lid of the pan of watercolors itself. You just need to add a bit of water to the pans or the bit you’ve squeezed out and mix a little with the brush.
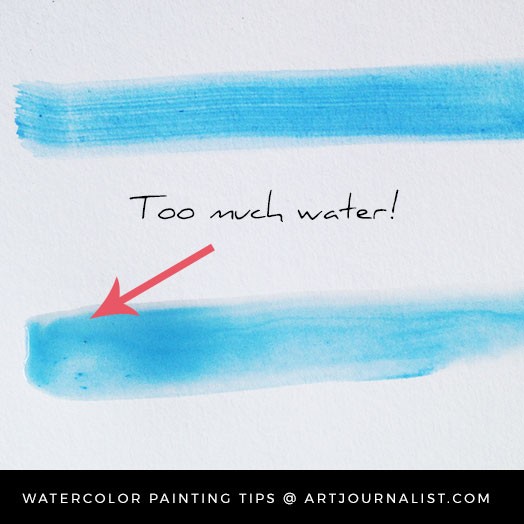
If water is pooling at all on the paper, you generally have too much water – unless of course that is part of the desired effect you are going for! When water is pooling, you will have less control of where the paint may flow!
It will take a little practice, but you will soon be able to tell when the brush has too much or too little paint on it. If there’s too much, simply blot it a little on a towel first before applying it to the paper.
When mixing colors, it’s a good idea to practice with some scratch paper first, just to get a good idea of how the colors will blend.
Make a Color Chart
Part of the fun of watercolors is using all the different colors! Something that is a great way to practice how much water and how much paint to use together is by making a color chart.
Not only are color charts pretty, but this will give you a good idea of what each color will look like based on dilution ratios with water and what it will look like once dry, since it may dry lighter than it initially appears while wet.
Step 3: Practice These 5 Main Watercolor Techniques
There are basically two ways to paint with watercolors. Wet on wet and wet on dry. Both have different uses & yes, you can even use them both together!
In addition to these two basic methods of applying paint on the paper, there are a couple of other techniques that can be used for great results.
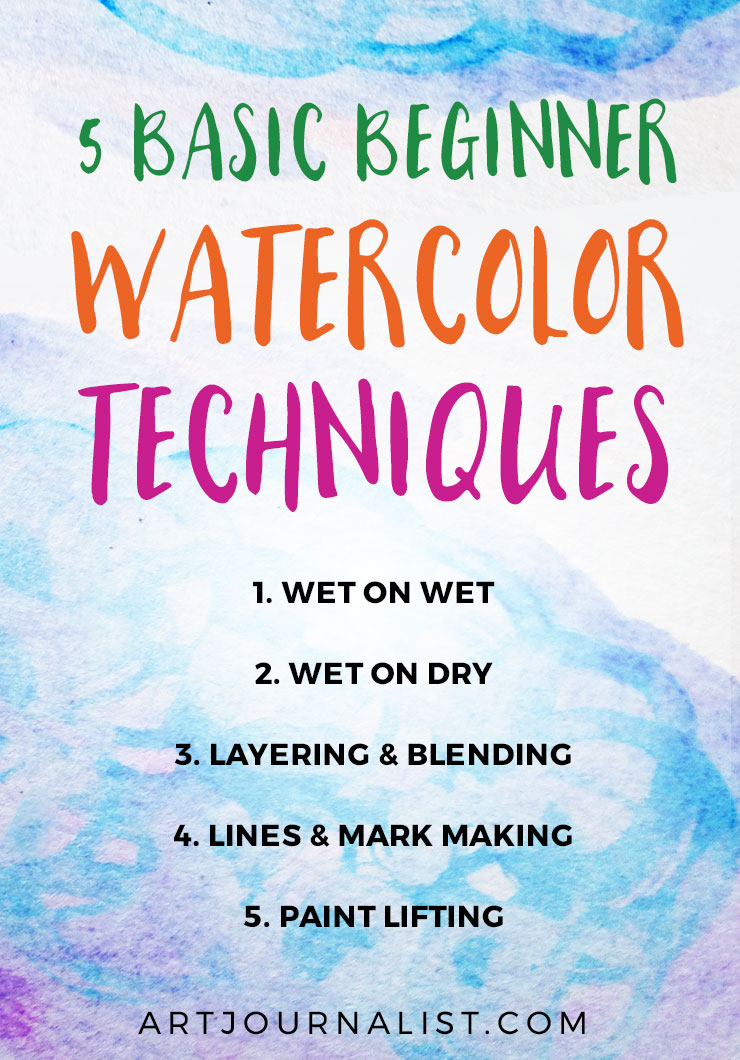
We’re going to cover these 5 main basic watercolor techniques for beginners in this post today:
- Wet on Wet
- Wet on Dry
- Layering & Blending with Watercolors
- Mark Making
- Paint Lifting
If you get these 5 basics down with some practice, you’ll be ready to make pretty much anything with watercolor like a pro!
Watercolor Fundamental #1: Wet on Wet Painting Technique

With this technique, you first do a wash of water on the paper. Simply dip your brush in water only, and spread a little bit of water around the page. Then, while the paper is still wet, you simply add your paints on top of this layer of water.
This is fun to use this technique, because the paint will go wherever the water is. Use this technique if you want nice soft edges or want complimentary colors to blend together easily. Avoid this technique if you are using opposite colors that will turn into mud when mixed together.
You can also often practice guiding where the paint flows with your brush to create different designs this way. The paint will go where the water is!
This is also a good way to blend different colors easily on the paper, because the paint will sort of float on top of the water on your paper and it can be swirled and moved around easily.
Watercolor Fundamental #2: Wet on Dry Painting Technique
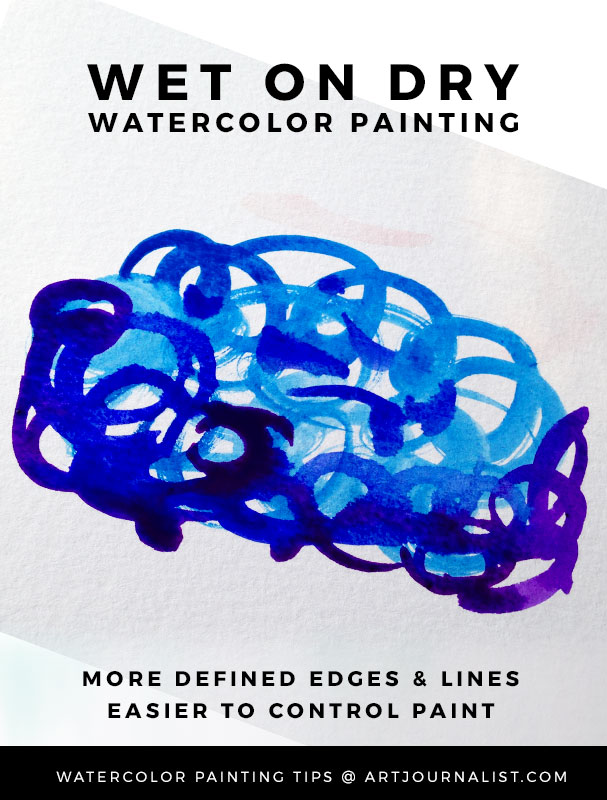
With wet on dry painting, you do not wet the paper first – you simply use the watercolors, mixed well with a bit of water, straight on dry paper.
Dry paper can be a completely fresh blank piece of paper – or it can be something you already painted on that has dried.
With this method, you will have a lot more control of where the paint goes, and you will see much more defined lines and edges.
Fundamentals of Watercolor #3: Layering & Blending Techniques
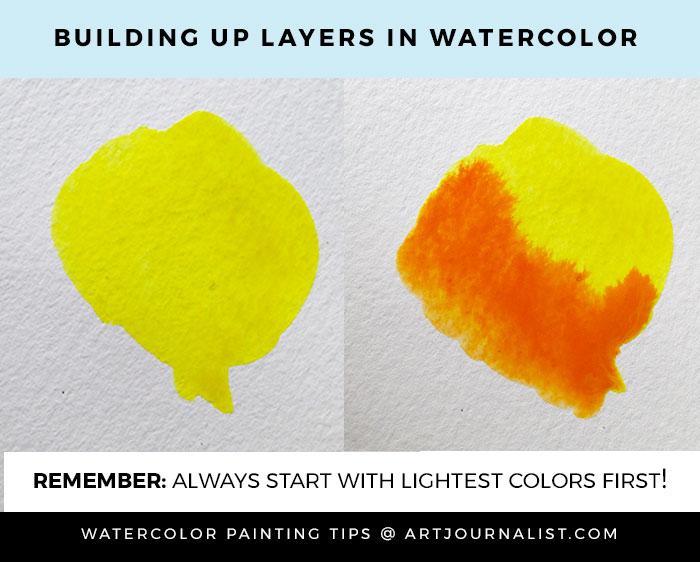
Another important thing to practice is how to layer with watercolors. Learning how to layer with watercolors is what can really help give the things you paint some more depth and interest. Learning to layer is what really makes watercolors look fantastic on paper!
When layering, you want to start with the lightest colors first. This way, you can keep building upon those lighter colors until you get the results you want.
It’s important to know that watercolors WILL become reactivated once dry if you paint over them with water again. This is really helpful to know, because if you are not careful you can easily muddy up the paints together and get some not-so-fantastic results.
This is a good way to also add shadows in your paintings. With watercolor, creating highlights is done a bit differently – rather than paint the highlights like you might when working with acrylic paints, it’s usually best to simply leave those spots blank.
You can experiment a lot when you are practicing on layering and blending the watercolors on paper. You can also experiment with this by combining different wet on wet and wet on dry techniques.
Watercolor Fundamentals #4: Mark Making for Lines and Shapes
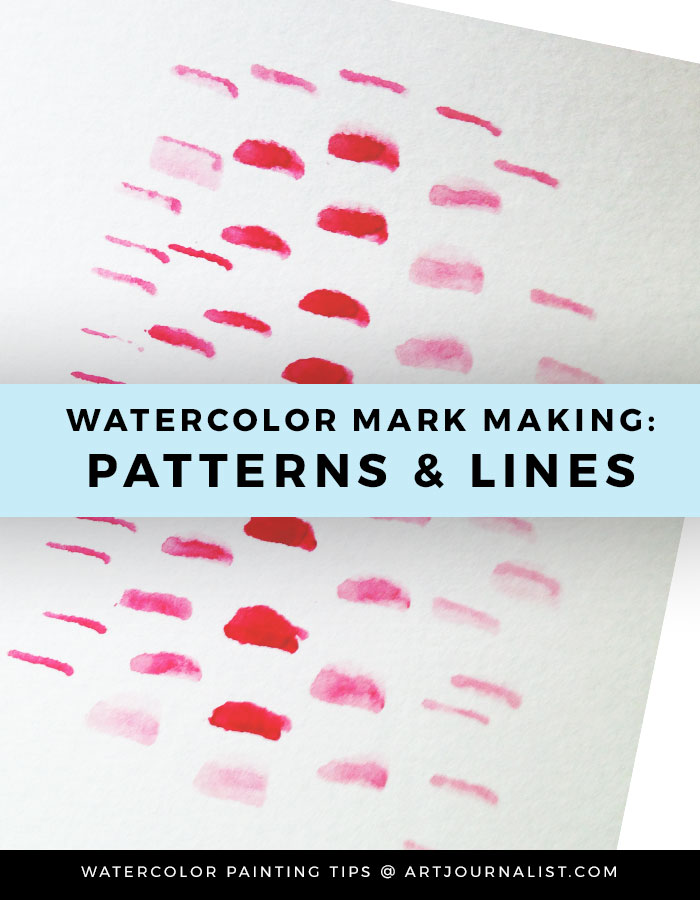
Once you have the basics of getting the paint mixed with water and how it will behave on paper and know how to layer and blend the paints together, you are next ready to practice with painting lines, shapes, and other mark making.
I like to use the thinner brushes and round brushes for making lines and shapes. You will have a lot more control over the paint this way!
Some of the marks you can practice making:
- Lines & Stripes – straight and curved
- Dots & Dabs
- Cross hairs
- Triangles, Circles, Stars, Hearts, Squares
- Practice Writing Words & Alphabet Letters
Let yourself “doodle” with the paintbrush and see where it takes you! This can be a great way to practice having control over the brush.
Watercolor Fundamental #5: Lifting Off Paint With Watercolors
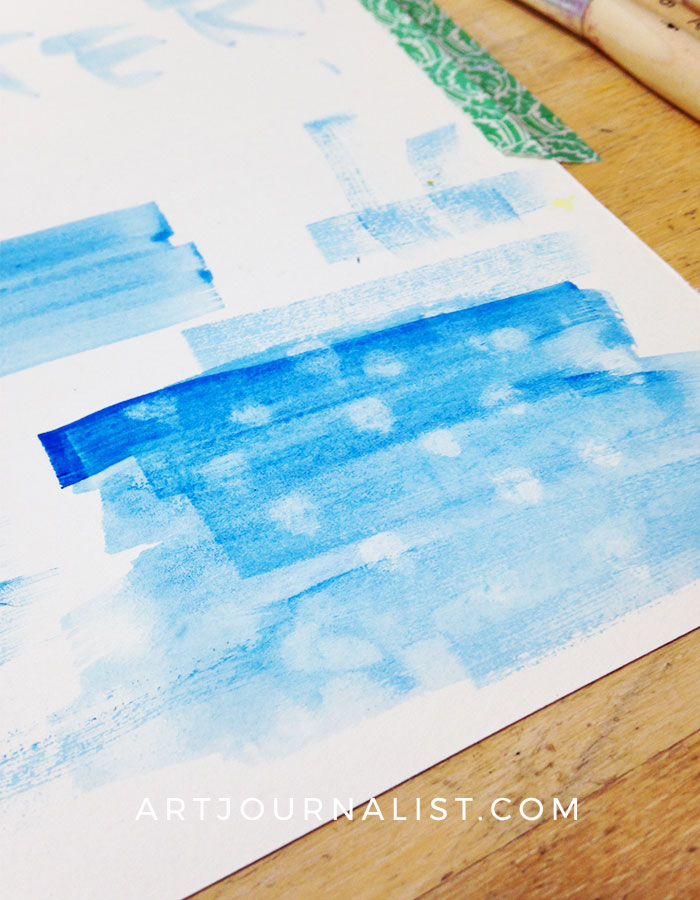
This is another good trick to know when you are learning how to watercolor. Once you paint an area, you can easily take a dry brush or even a paper towel to lift off some of the paint.
This can be used to make some areas lighter, or you can even have fun with different mark making designs, such as polka dots or stripes!
Once you get down these basic fundamentals for watercolors and the main watercolor techniques, you are ready to start with even more fun watercolor painting techniques!
8 Watercolor Painting Tips & Tricks for Beginners
Now that we’ve gone over the basics, I thought I would share a few more tips & tricks I think are super helpful to know as a beginner.
#1. Two Jars of Water: Yes, I know I already mentioned this. But, just in case you are like me and painted with watercolors all wrong for a good 25 years of your life ever since that first set of Crayola watercolors as a kid and not inclined to think of these obvious things… Yes, I am totally mentioning it again. 🙂
#2. Tape Down Your Paper: This is another big tip I wish I had known! Wrinkled up paintings are NOT fun. Using tape to keep your paper in place until the water is completely dry you will be able to have nice flat pages! {Come to think of it, this would likely be useful for ANY type of wet mixed media type of art work where wrinkled pages are a problem!}
#3. Use the Just Right Amount of Water: The most common mistakes with watercolor is using either way too much water, or not using enough water.
Sometimes lots of crazy amounts of water is a good and fun thing – but if you’re going for precision or trying to do a certain effect, it could spell out disaster or frustration.
If you are using too much water, you’ll have puddles and water pooling on the surface of the paper. This can take forever to dry, cause paint to go in directions you may not want it to, and can also cause your colors to be much lighter than you might want them to be.
On the other hand, too little water could mean your paints don’t flow smoothly or that you end up wasting a lot of good paint every time you rinse off the brushes. With practice, you’ll start to get a good feel for how much is “just right”.
#4. Let the Watercolors Dry in Between Layers: It’s a good idea to let the watercolors dry a bit in between layers, especially if you did a nice wet wash and are ready to add details. Giving it time to dry first will make it easier to paint details with more accuracy and less spreading.
#5. Avoid the Heat Gun: I LOVE my heat gun when working with acrylics, however without a lot of care it can be a disaster with watercolors – mostly because you will find out the force of the air pushes the water around. This can be used for nice effects for dripping paint in mixed media, but if you worked hard on a painting it’s better to let it dry naturally.
#6. Work on a Level Surface: This is another one of those things that is probably obvious, but isn’t always obvious. One day I was working on a table outside, only to notice all of my paints were sort of running & pooling to the left side of the table. Turns out the table was not level! Oops! If need be, you can always prop up with papers and books underneath.
#7. Take a Class: While this primer will hopefully help you get started, taking a class or learning from an experienced watercolor artist friend will change everything you know about watercolors!
I have met some wonderful artist friends locally through sites like Meetup.com. You can also often find watercolor classes at libraries, community colleges, and even local high schools with adult community programs.
#8. Practice, Practice, Practice! There’s really only one good way to ever get good at anything: practice! Fortunately, watercolors are not super messy and are ultra portable, which means you could easily practice painting in watercolors for a little bit every day or even on a lunch break at work. Practice any and every chance you get!
Watercolors can be a LOT of fun, and it just takes knowing a few of these tips & tricks to really take it to a whole new level. If you have ever struggled with watercolors like I have, I hope this post inspires you to give it another chance AND learn that it can be a lot of great fun – once you get the basics down!
I hope this post on how to paint with watercolors has inspired you to create something fun that you love- and of course, if you’d like to share any of your watercolor masterpieces – please DO join our Facebook community group – we’d love to have you there! {Not painting a masterpiece? No worries, Watercolor disaster paintings also welcome in our group – we are SUPER beginner friendly and of course will answer any questions you may have!}
Any watercolor tips for beginners you might want to share? Any techniques or types of watercolor paintings you’d like to see us make videos on or write tutorials for? Any questions on what we’ve covered so far?
This is just the beginning of many more watercolor posts on our site and I’d love to hear your ideas in the comments below. And of course as always, feel free to ask any questions about working with watercolors below – I’m always happy to help!
Favorite Watercolor Supplies


Join our facebook group!

Share what you’re creating and working on, ask questions + connect with over 4000 creative artjournalists for inspiration + ideas!
