

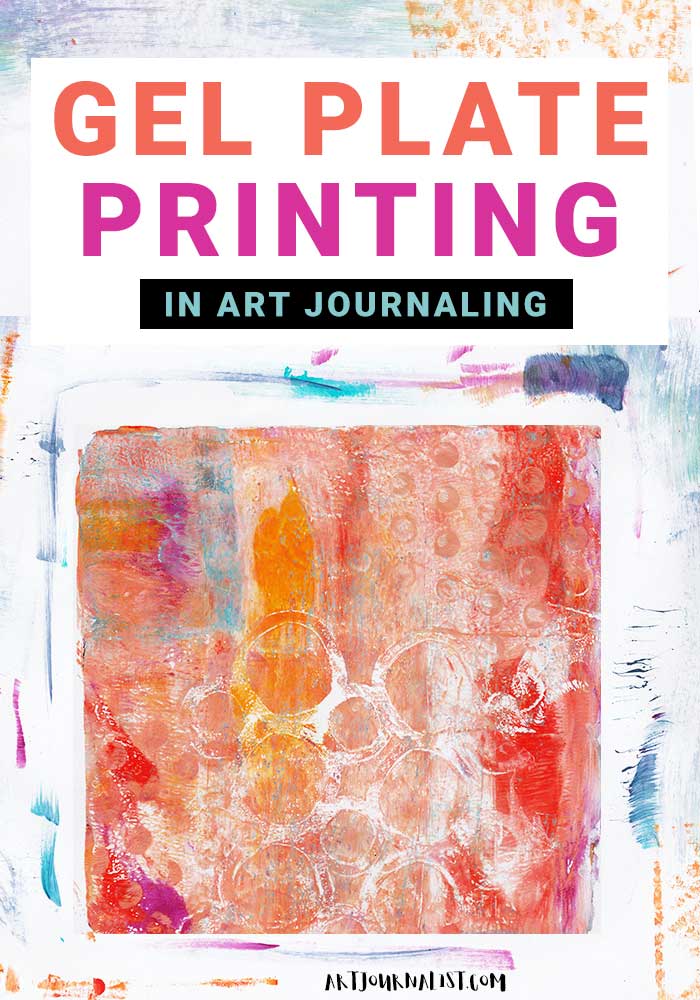
Today I wanted to share a fun way to make unique journal backgrounds quick: Gel Plate Printing!
If you have never used a gel plate for making prints before, this tutorial will walk you through how to make gel plate prints for art journaling, mixed media, and more!
What is a Gel Print Plate?
If you have never used a gel plate before, you may be wondering what the heck one is!
Basically a gel plate is a fun way to make unique and creative prints – without a mess or without a lot of equipment and supplies.
There are a few different manufacturers which make Gel Plates, the two leading companies being Gelli Arts and Gel Press.
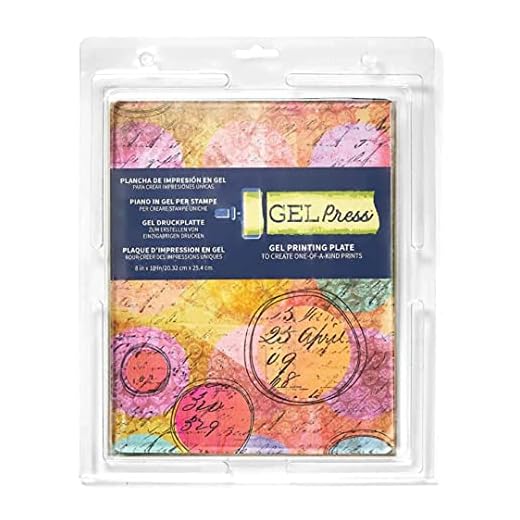


Both of these companies create high quality plates and accessories. The plate itself has a gelatin like feel – but don’t worry, it is NOT made from Jello!
Most of the plates you can purchase are made with a mineral based glycerin which give the plate a flexible and moldable surface so that you can spread paints, add textures, and make many prints to your hearts content!
When I first dove into learning about gel printing a few years ago, I was definitely intrigued but also overwhelmed. Fortunately, it is very easy to get started and you only need a few basic supplies!
Gel Printing Supplies: What You Need to Get Started With Gel Plate Printing
If you are new to Gel Plate printing, you will need a few basic supplies:
#1: Your Gel Plate!
If you don’t have a gel plate yet, it’s definitely a lot of fun to create with! I recommend using either Gelli Arts brand plates or the Gel Press brand.
There are a number of great options and they come in a number of different shapes and sizes.
You can start small with a size you work with often and always add to your collection later!
The one I use in the video below is the Gelli Arts 6 x 6 Printing Plate – it’s a nice small size to start with although I often wish I had a larger plate for 8 x 11.5 paper sizes!
If you are feeling adventurous, you can also attempt to make your own gel plate! I have seen a few people successfully create their own gel plate using the directions & recipe from TheFrugalCrafter.
It’s a pretty involved process to make one yourself, but if you like to do kitchen science experiments can be a lot of fun to try.
#2: Brayer
While it is possible to create prints without a brayer, a brayer is a great tool to have for any type of crafting and makes the printing process a lot more fun!
I have a couple of brayers, and to quote the famous idiom “do as a I say and not as a I do” – I would recommend using the Speedball Rubber Brayer.
The one I use in the video I share works, but I’ve had to adjust it many times and call in the husband to use brute force to make it actually roll like it is supposed to – and that can be frustrating!
The Speedball Rubber Brayer is the one I should have grabbed instead and is also available in a number of different sizes, so you can choose one that would work well with the size of gel plate you are using.


#3: Acrylic Paint
It is recommended to only use acrylic paint for your gel prints. Using inks or oil based paints can possibly damage or stain the plate’s surface – and that would not be a very good thing!
I have experimented with a number of different types of paints. I often use Liquitex soft body paints, but I also enjoy experimenting with different heavy body paints and even the inexpensive Plaid craft paints.
Heavy body paints will “grab” the texture more than the thinner soft body and craft paints – so you will definitely notice different effects depending on which types of paints you use!
Making gel plate prints is also an awesome way to use up old paints you may not be crazy about or! I’ve used my gel plate many times to use up those last few drops in a nearly empty paint bottle!


#4: Texture and Pattern Making Supplies
This is the really fun part of creating gel prints – and that is using different materials and supplies to create textures and patterns!
There are truly unlimited possibilities for different things you can use to create textures and patterns with your gel plate.
Here are some of the things you can find around the house to create interesting patterns and textures:
- Combs
- Plastic Forks and Knives
- Ribbon and Lace
- String and Twine
- Plastic Canvas Pieces
- Crumpled up Wax Paper or Tissue Paper
- Buttons
- Hardware nuts & washers
Stencils can be a lot of fun also to use. They come in SO MANY different styles and shapes – and it’s tempting to want them ALL. Some of my favorite stencils are Heidi Swapp, Crafters Workshop, and ArtistCellar.


You can also make your own stencils! A simple and easy way is to use a piece of cardstock and punch/poke holes into it for your own unique designs.
You can also draw lines, squares, triangles, etc. and cut them out by hand. {Although it’s definitely A LOT EASIER if you have a Cricut or Silhouette cutting machine.}
There are no rules – or limits on what you can use to create texture for your pages, so have fun and experiment. Go through that junk drawer or dive into that forgotten box of art and craft supplies and see what you might find!
#5: Paper!
Of course, you will also need some paper! If you are working on a surface you don’t want to be covered in paint, it’s a VERY good idea to put down a vinyl tablecloth or protective paper over your work surface – because gel printing can be a little bit messy.
I like to use cardstock the most often and is what I use in the video below – it seems to hold the paint pretty well and is a nice sturdy surface. But you don’t have to use cardstock of course. You can use any type of paper!
Thin papers may be more likely to wrinkle, but you can get some really neat textures and effects that way, so it is really a matter of personal preference.
Making gelli plate prints can be a lot of fun with discarded paper you would normally toss for recycling – junk mail, newspaper, the bazillion million pieces of paper your kids bring home from school.
Old book pages and magazines can be fun to experiment with also!
Another neat gelli printing idea is to use fabric scraps – fabric can often be used to add texture to mixed media pages or even for your journal covers.
Now that we’ve covered all the supplies and materials you can use for printing with a gelli plate or making gel press prints, you’re ready for the fun part: Making the prints!
How to Make Prints Using a Gelli Arts or Gel Press Plate
Once you’ve gathered all of your supplies, it’s time to have some fun! There are no rules of course for how to create prints using your Gelli plate {or a Gel Press plate!} – but having a few basic techniques down can help you start creating beautiful unique prints right away!
Step #1: Apply Paint to The Gel Plate
The first step is to apply some paint to the gel plate. You can do this with a palette knife or just dab a few drops of paint onto the plate’s surface straight from the bottle.
You can choose a number of colors, but for your first few prints, you may want to stick to just one color or two complimenting colors so you’ll have a good understanding of how the paint colors will blend once you start printing.
Step #2: Spread The Paint
Once there is some paint on your plate, the next step is to take the brayer and roll it over the paint and spread it along the gel plate. There are no rules for how you should do this or which direction you go so have fun and let yourself experiment!
Tip: If you are using multiple colors, try to roll the brayer in one direction and lift it up when you reach the edge, rather than going back and forth. This can help prevent colors becoming muddy when mixing contrasting colors {ie: pink and green, yellow and purple, orange and blue}
Once the paint is spread on the plate, it can be fun to roll the brayer on a scrap piece of paper or blank journal page to clean it – and create interesting background starters!
Step 3: Apply Texture/Stencils/Patterns
This is where it is the most fun, because you really get to play around with different materials and items!
Here are a few examples of things you can do and some of the different techniques I demonstrate in the video at the end of this article:
- Place a piece of twine over the painted gel plate
- Using a comb to create different designs and lines
- Stamp the plate with different materials – such as buttons, cabinet pulls, hardware washers and nuts
- Press a piece of decorative lace ribbon into the gel plate
- Use stencils and masks to create areas that won’t be covered with paint
Step 4: Press Your Paper & Pull!
Once you have your textures or patterns, you simply lay a piece of paper on top of the gel plate, press down with your hands to smooth it out – and then pull it off to reveal a very unique and interesting design!
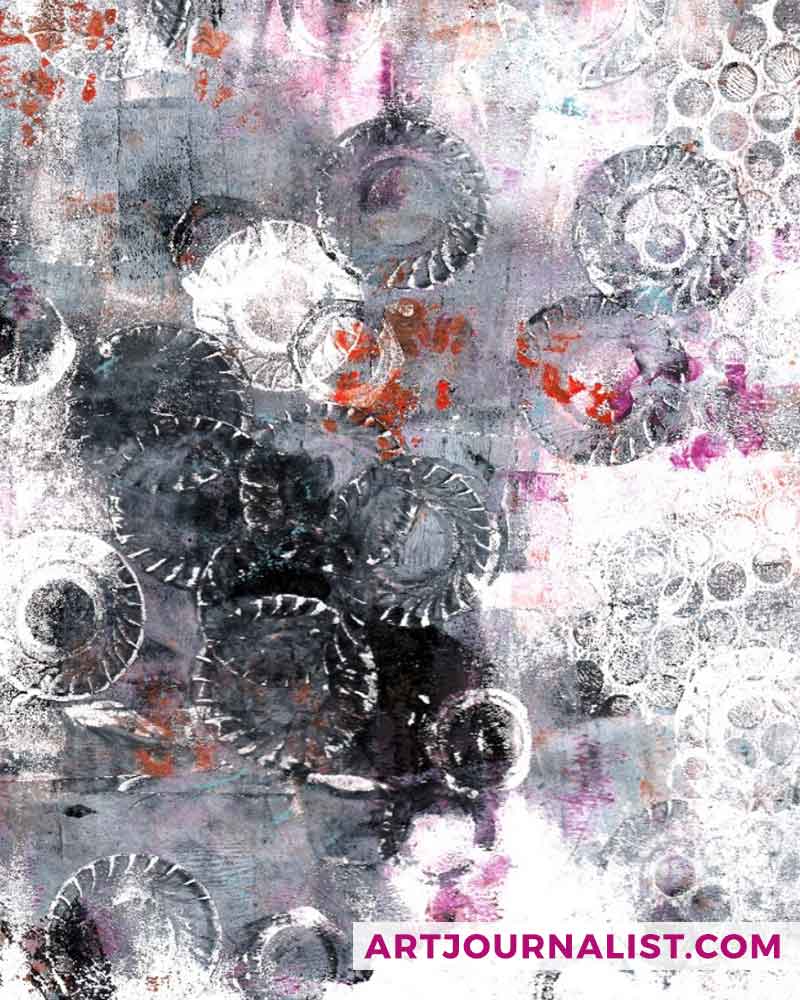
I love experimenting with different colors and textures and different methods – I never know what I might get when I pull the print – but that’s part of the fun!
If there is still paint on your gel plate after the first print is pulled, you can always place a second piece of paper onto the plate and repeat the press and pull process. These are called “ghost prints” and sometimes the ghost prints can be just as every bit as beautiful and interesting as the original!
You can also do prints on top of prints! After a first print is dry, don’t be afraid to add another layer of a contrasting or complimenting color from a different pull. This can be a fun way to experiment!
Now that we have a good idea of the process, let’s get into the video!!!
How to Make Gelli Prints: Gel Plate Printing Video
This video was a lot of fun to make – and the best part? You can download FREE printables of scanned copies of some of my favorite prints I created while making the video! Subscribe on YouTube
Free Printable: Gelli Print Backgrounds!
 I love scanning the prints into my computer after they are dry – that way I can use the originals fearlessly, knowing I can always duplicate it again if it’s a design I really like or have more than one idea for how to use it! And of course – it is always fun to share my prints with the Artjournalist community!
You can download the PDF of gelli print backgrounds using the download links below. There are two versions – a high resolution version and low resolution version.
The high resolution version is recommended – but if you have a hard time downloading the files due to it being a large file size, the low resolution version will be okay as well!
Click Here to Download the High Resolution Version {Recommended!}
Click Here to Download Low Res Version {for slower internet connections}
These printable art journal pages are yours to use any way you’d like in your creative projects! The only thing I ask is if you’d like to share them with a friend to send them to our site and invite them to join the Facebook group and newsletter!
Join the Facebook Group Here | Join Our Newsletter Here
Creating prints with a gel plate can be a lot of fun and the results can give you unlimited possibilities for new papers to use in your journals and other mixed media art! It is a fun and simple way to get past that fear of the blank page and make a mess to really let go and just experiment with different techniques and ideas!
Do you like creating with a gel printing plate? What are your favorite things to create? What types of supplies do you use for creating patterns and textures? I’d love to hear your thoughts and experiments about gelli printing in the comments section below!


Join our facebook group!

Share what you’re creating and working on, ask questions + connect with over 4000 creative artjournalists for inspiration + ideas!
I love using my gel press but forget to use it. Thank you for the great ideas!